Annotation
Annotations serve as interactive labels within your space, allowing you to provide detailed explanations or descriptions for specific elements. You can also enrich these annotations with embedded images or videos.
Placing Annotations
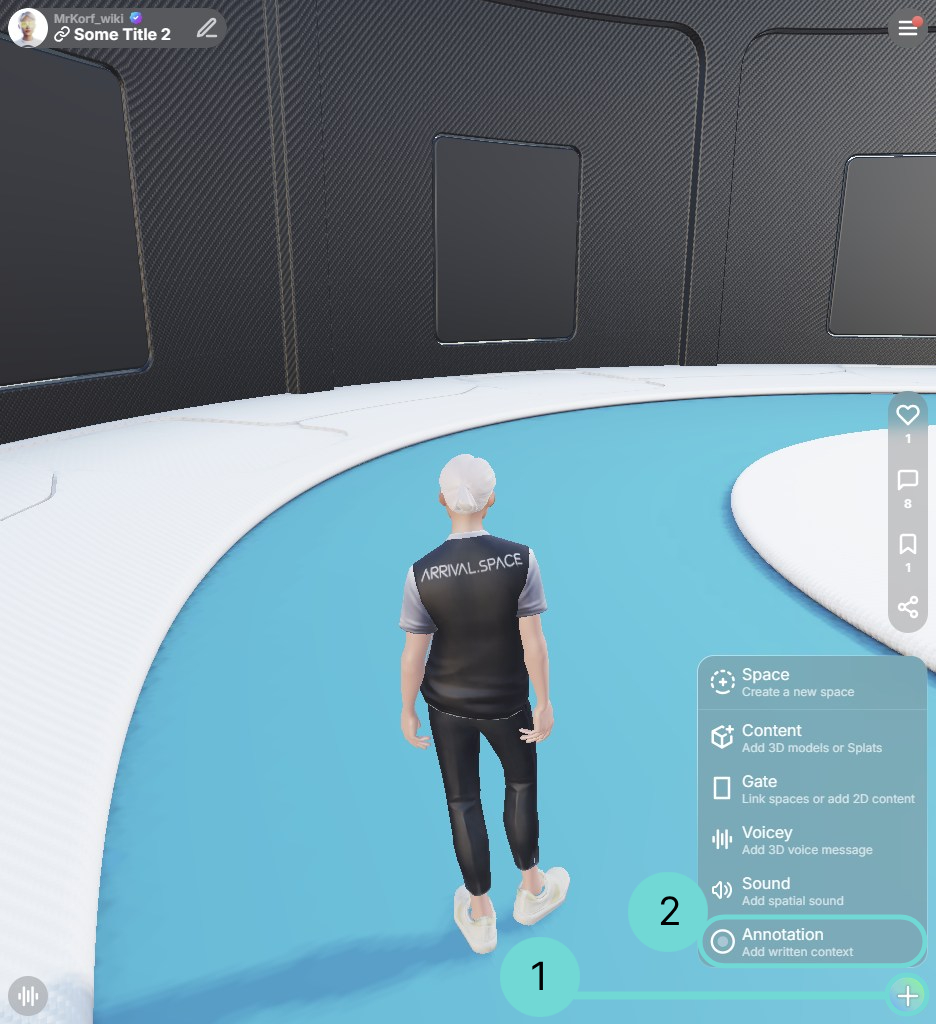
The Annotation UI is placed inside the Action sub menu. Use the Action button in the right corner to open the Sub menu. Select 2 Annotation and place it on the desired location in your space. Upon initial placement, the Edit Annotation interface will appear, where you can input and format your descriptive text.
Edit Annotations
To edit an annotation after its initial placement, you can either double-click on its icon within the space or click directly on the annotation's text. This will open the annotation's editing panel.
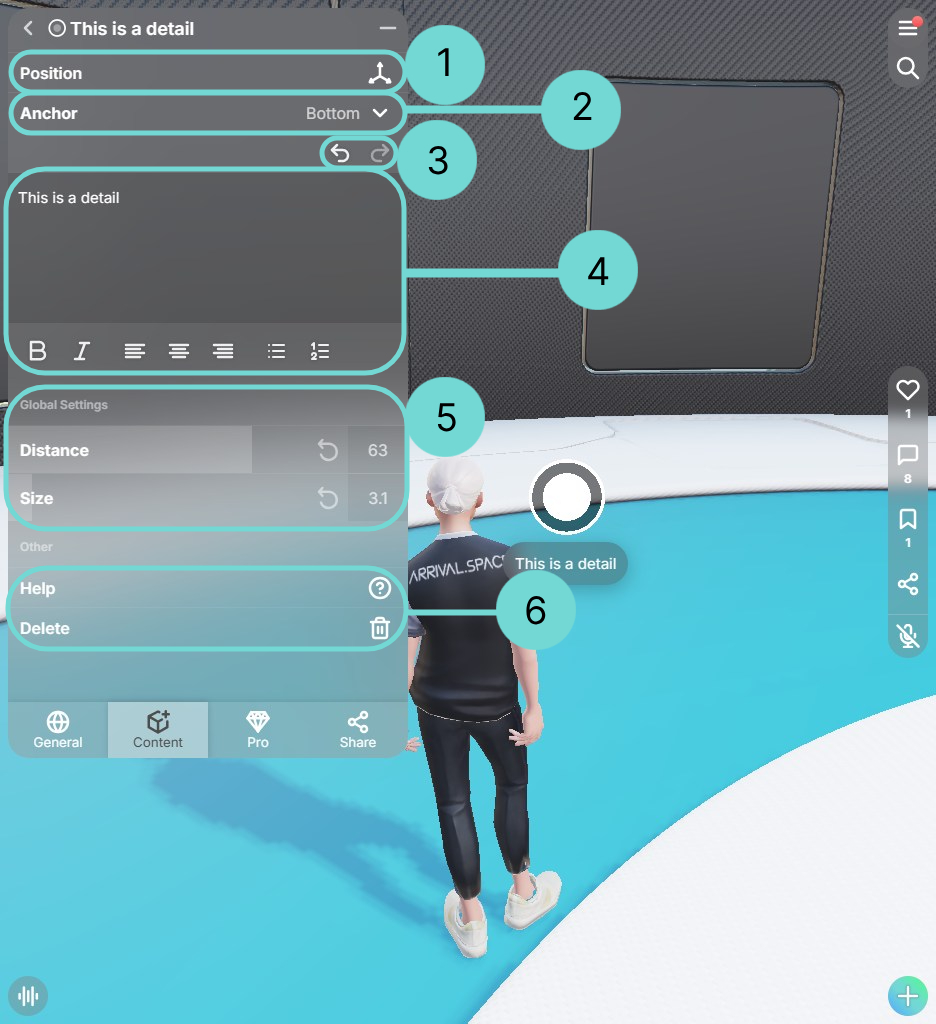 Open Gizmo 1
Clicking this button will activate the annotation's gizmo, allowing you to reposition the associated text label.
Anchor 2
This option lets you decide, where the Annotation text will appear. You can find an example in section Example: Annotation anchor.
This will redo your changes inside the description.
Description 4
Place your detailed explanations or descriptions for specific elements here.
Global Settings 5
The annotation global settings provide options to resize the annotation icon itself, control its visual perspective based on distance. Typically, closer objects appear larger than distant ones. The distance slider allows you to adjust how much the annotation icon's size changes based on the viewer's perspective. You can find an example in section Example: Distance and Size.
As soon as you change the default setting, a Reset Button will appear.
Help 6 This Button will redirect you to this page.
Delete 6Removes the currently selected annotation from the space.
Example: Annotation anchor
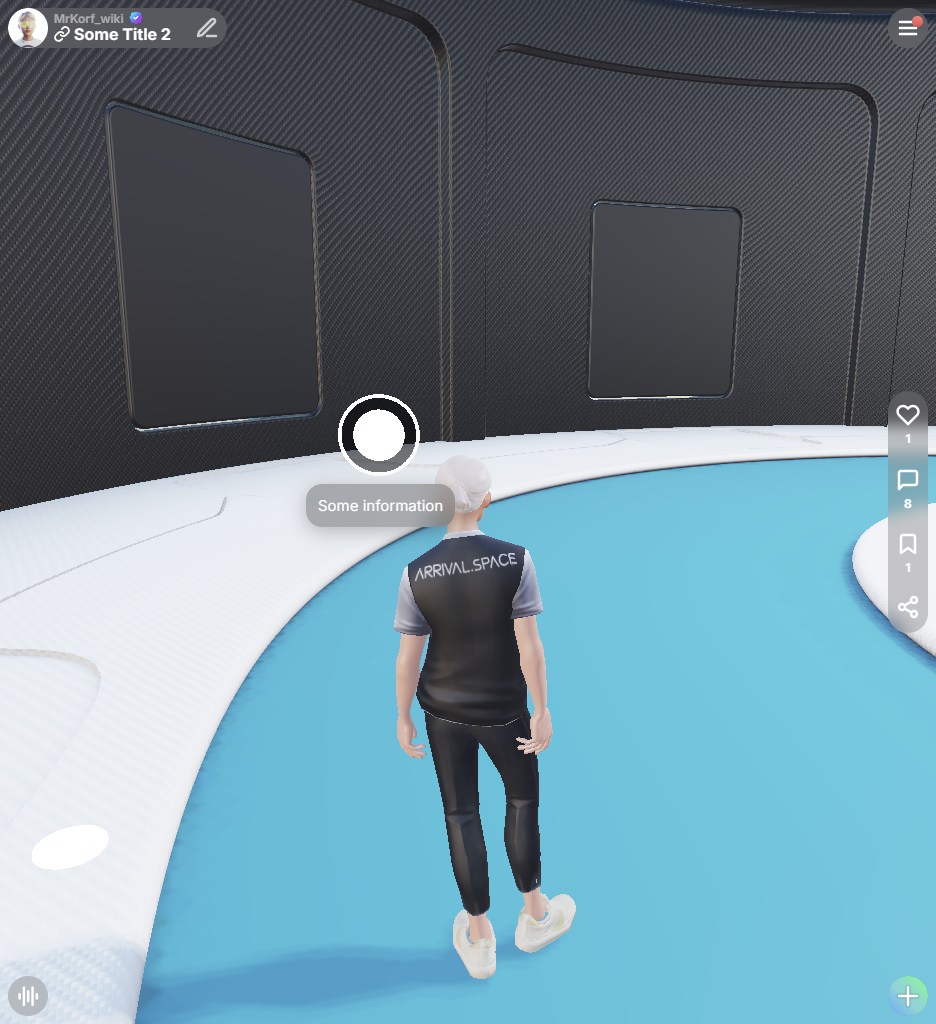
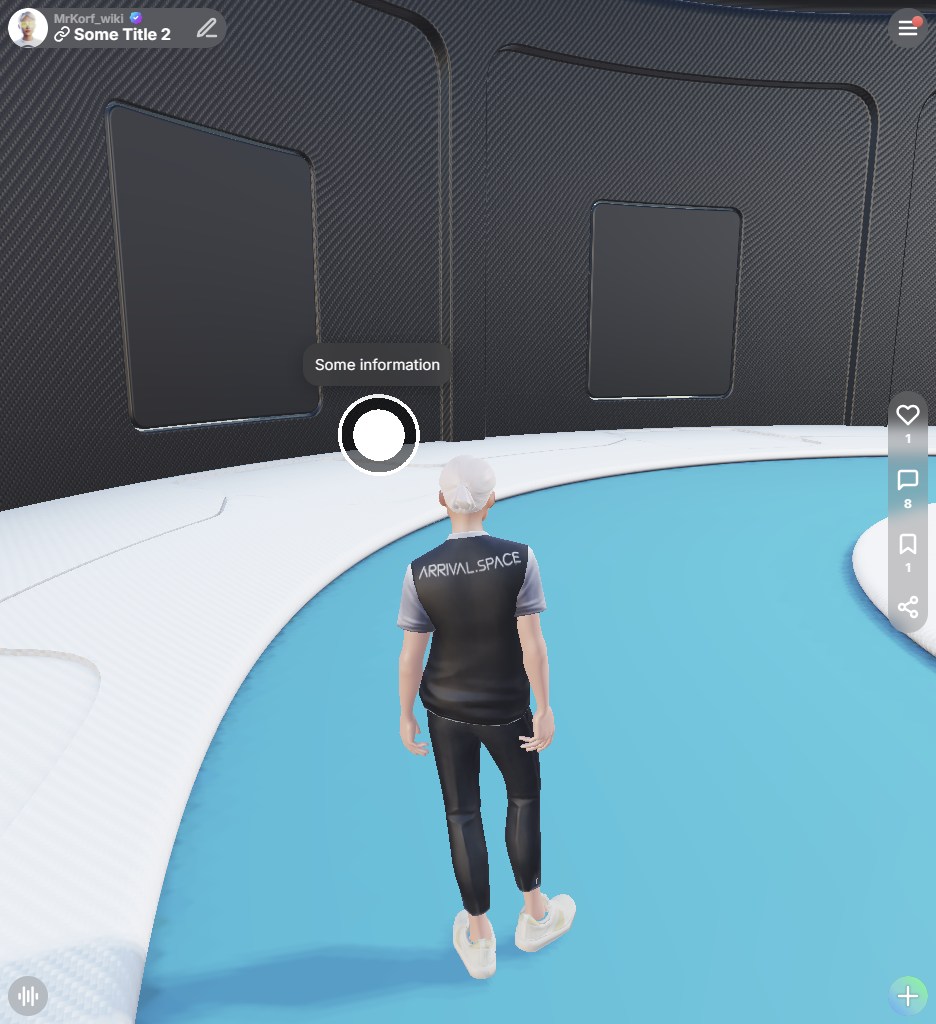
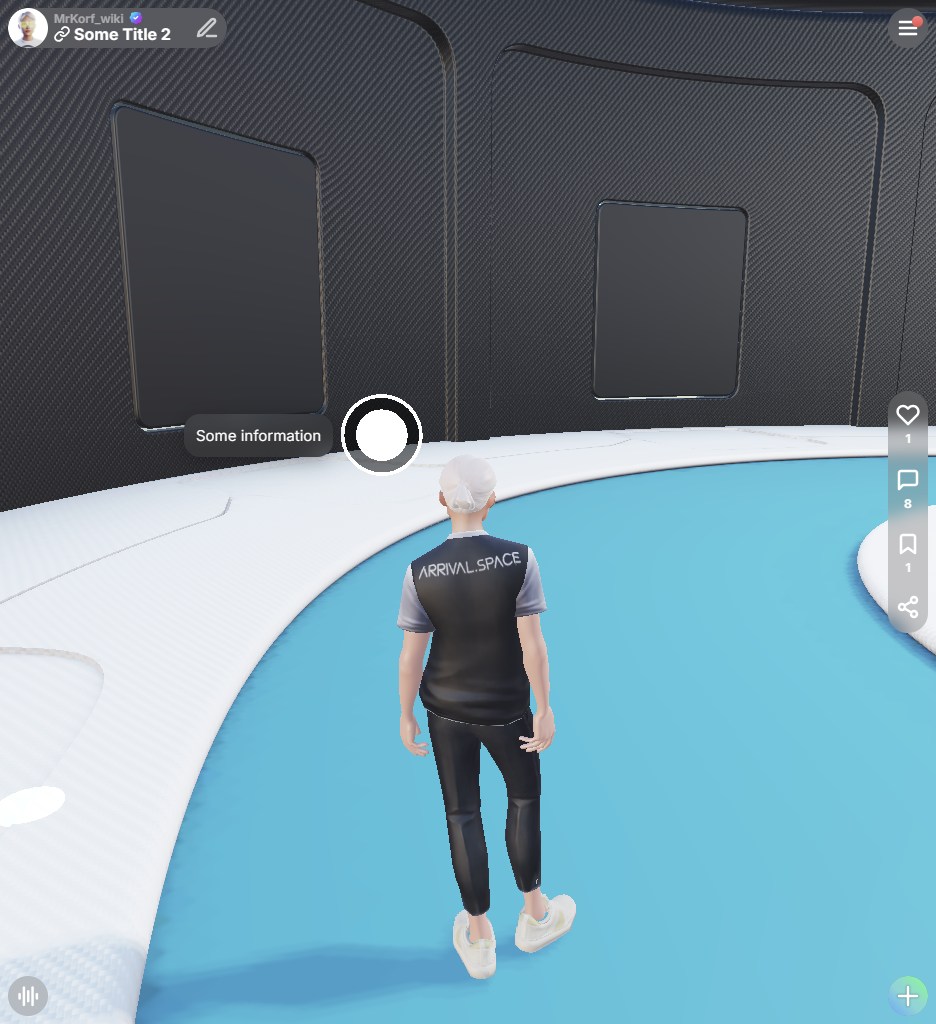
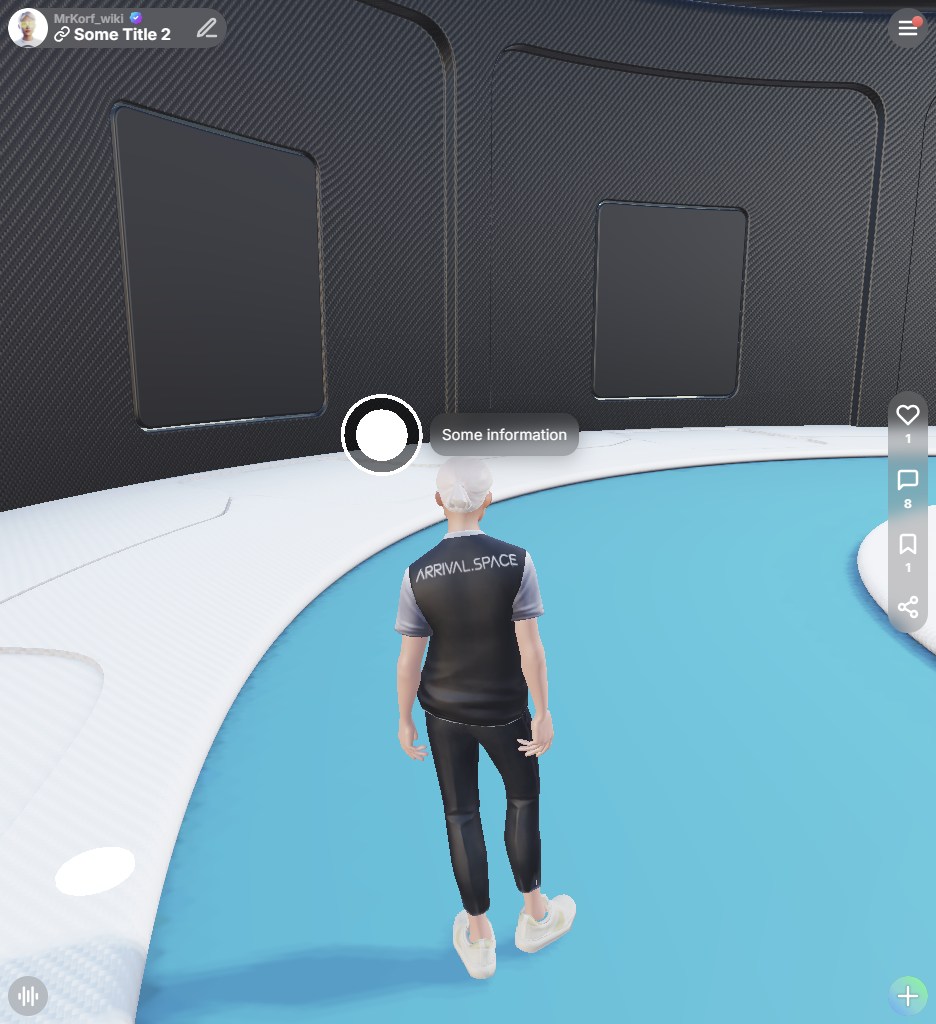
The default setting is bottom which means the annotation description will always open at the underneath the Annotation icon. The following sample images demonstrate how the annotation will appear to visitors under various anchor settings.
Example: Distance and Size
The following images illustrate the effect of the distance setting. In both images, the creator's viewing position and the annotation's inherent size are identical. Only the distance value has been modified:
- A high distance value means the annotation's size changes less as the viewing angle shifts (as seen in the left image).
- A low distance value means the annotation's size changes more noticeably with changes in viewing angle (as seen in the right image).
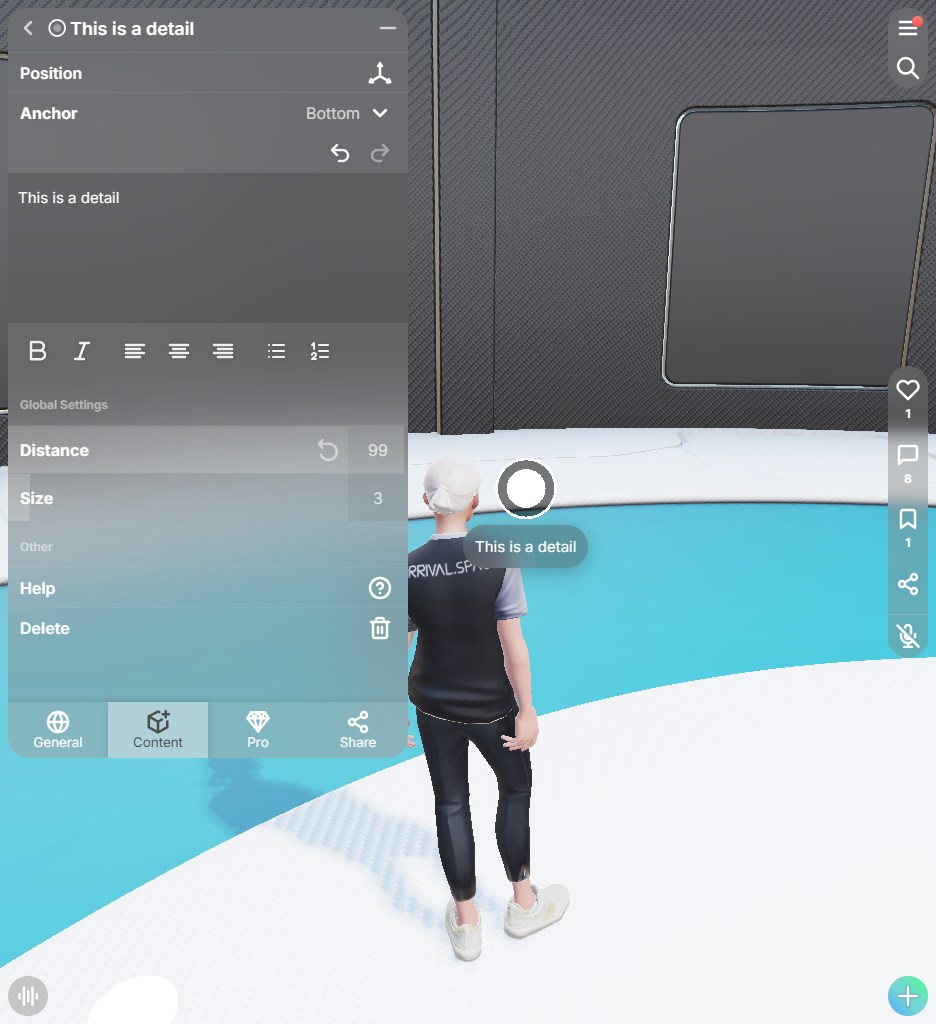
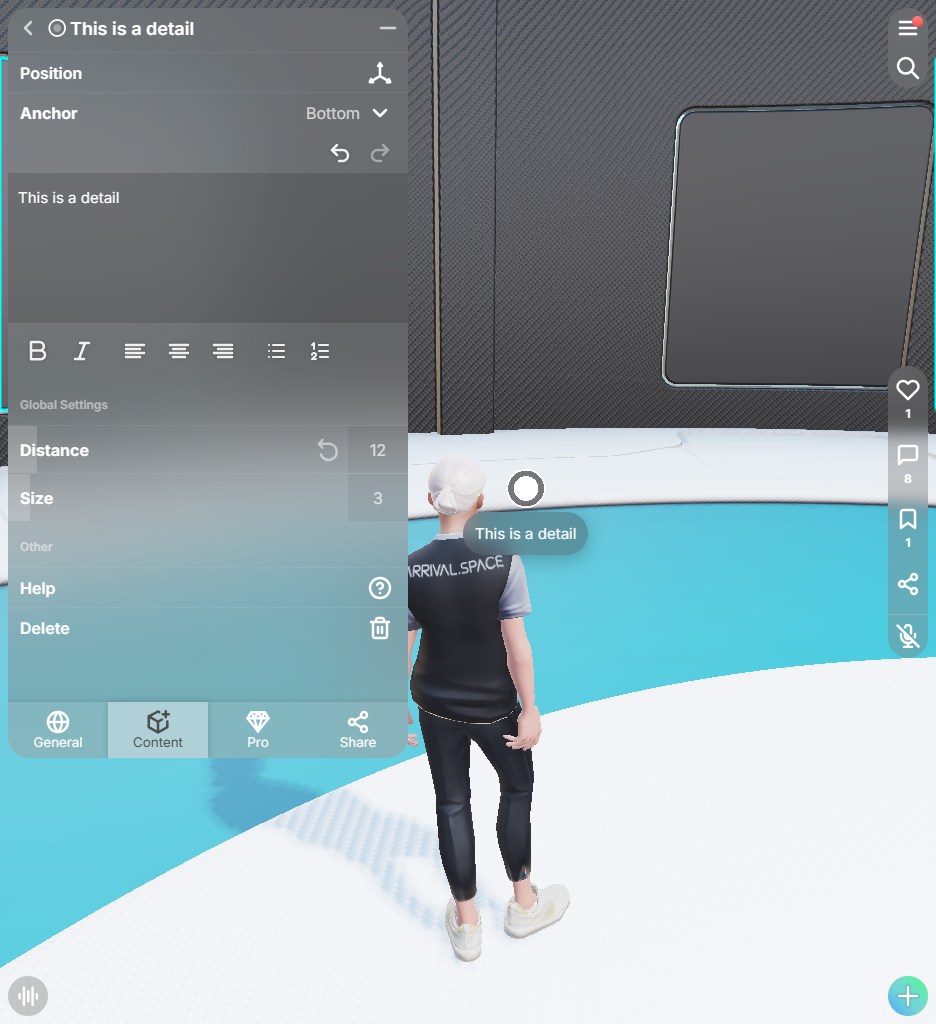
There are min and max values for size and distance. This is intentional to limit errors - that's no bug. The size is between 2 and 20 and the distance ist between 5 and 100.
Visitor View
When someone visits a Space containing annotations, they can reveal the description by hovering their mouse over the annotation icon (on desktop). To persistently display an annotation, they can click on the inner circle, which will turn white and become larger, effectively pinning it. Clicking the inner circle again will unpin the annotation, returning it to its light gray state.
Advanced Editing Options
Annotations can include more than just text — you can also add images, social media cards, links, and YouTube videos.
- Social Media Cards
- Images
- Links
- Youtube
Custom Social Media Cards of Spaces
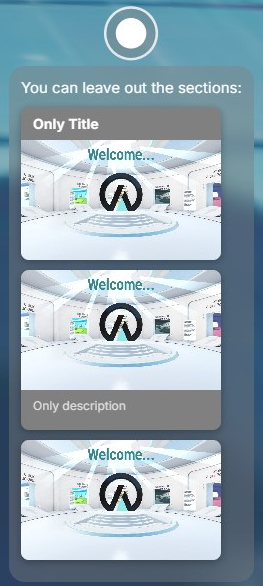
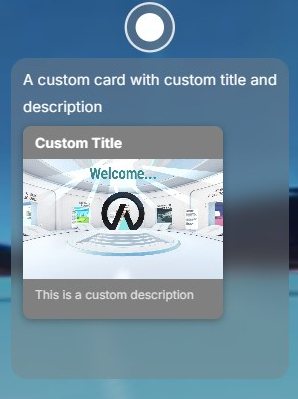
Use the @[card] keyword to display the social card inside an annotation. First pass the link inside the round brackets. The first two quotation marks are used for the title and the second one for a description. This option is only available for space links.
@[card](https://arrival.space/welcome "Only Title" "")
@[card](https://arrival.space/welcome "" "Only description")
@[card](https://arrival.space/welcome "" "")
@[card](https://arrival.space/welcome "Custom Title" "This is a custom description")
Images
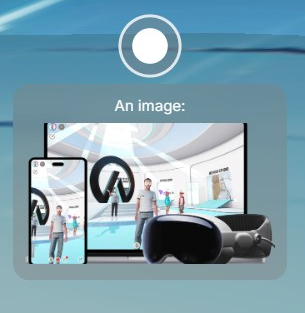
To add an image it has to be uploaded to a server. This means it must be available on a public website. The following example uses an image from a newspaper.
Links
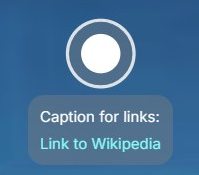
If you only want to add a link without social card use the following code. The text inside the square brackets defines the title.
[Link to Wikipedia](https://wikipedia.org)
Youtube
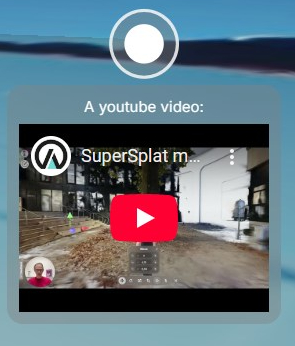
Use the @[youtube] keyword to display a youtube video directly inside the annotation. The number in the round brackets is the ID of the video.
@[youtube](APJ3OViCjO4)
